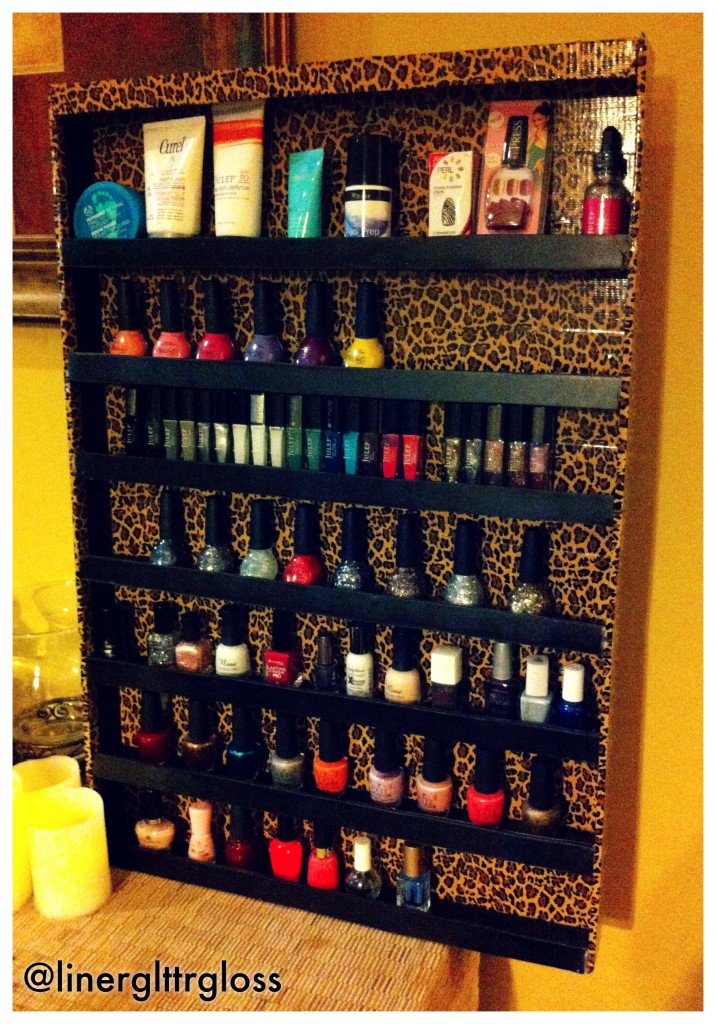
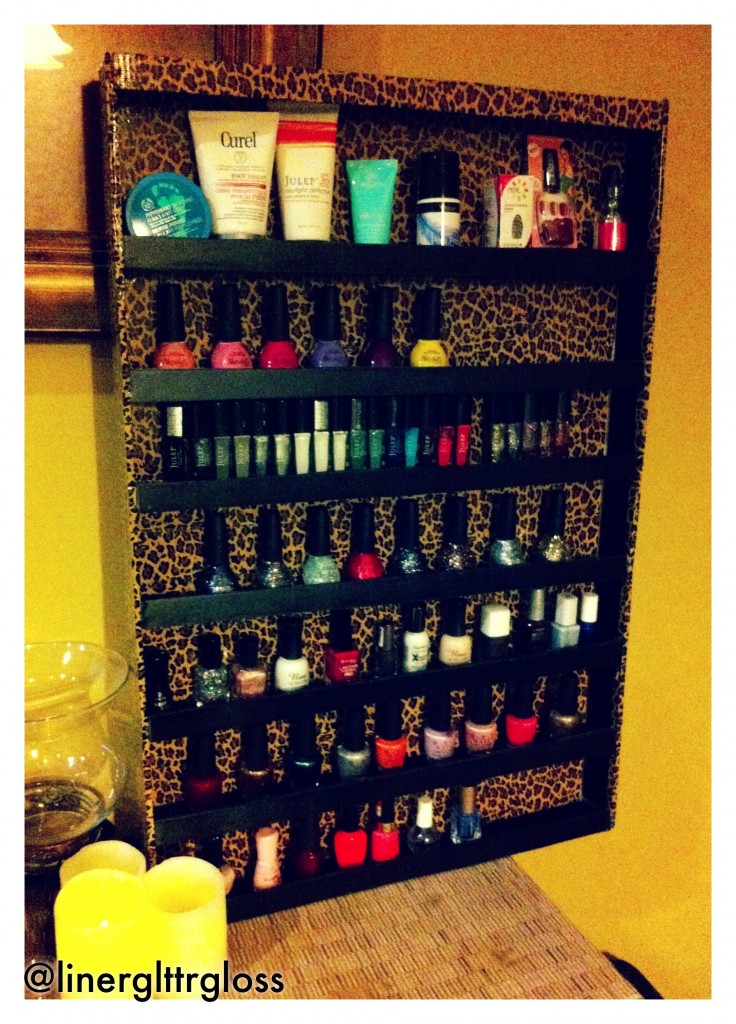
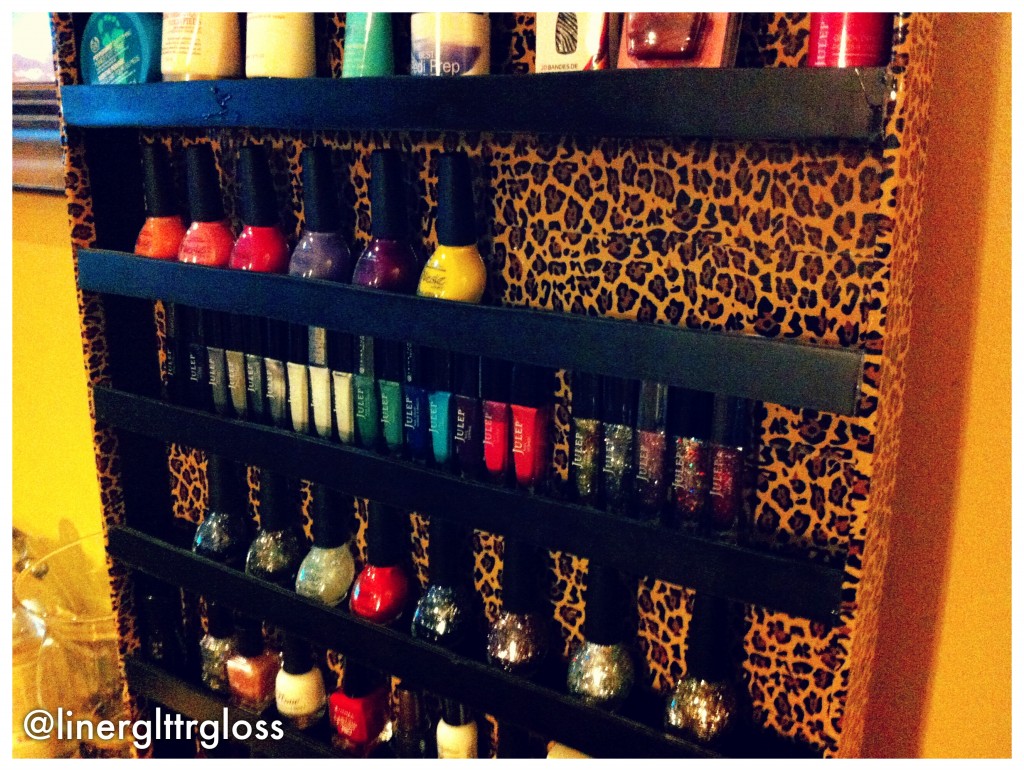
I finally came to the conclusion that I need to start storing my nail polish where I can see it, and then I came to the decision that I should make a shelf for my polishes. Probably not one of my brightest moments as I’m not exactly one of the most handy people you’ll ever meet, but I went for it and I have to say I’m pretty happy with the results. So here it it – my DIY Nail Polish Rack:
Items Needed:
– 3 20″x30″ Foam boards
– Black Spray Paint
– Hot glue gun + glue sticks
– Duct tape to decorate (I had to pick leopard print!)
– Craft/utility knife
Steps:
1. Decide how big you want your shelf to be – I used the entire 20″x30″ foam board as my backboard, but you can adjust to whatever size you need .
2. Cut out the shelf, edge and side pieces. To create a board like mine, you will need 7 2″x20″ shelf pieces, 8 1″x20″ edge pieces and 2 2″x30″ side pieces.
3. Spray paint the pieces that you just cut whichever colour you would like – I went with black to go along with the leopard print.
4. Cover the piece of foam board you will be using for the background with the patterned duct tape.
5. Using a hot glue gun, attach the shelf pieces – I attached a shelf every 4 inches, with the top shelf being about 6.
6. Attach the edge pieces to the ends of the shelf pieces to prevent the polishes from falling off the shelves.
7. Attach the side pieces to the sides of the shelves to bring it all together.
Voila – easy enough and perfect for holding all of your polishes and manicure essentials! If you have any questions, sound off in the comments below and I will be sure to help you out!


